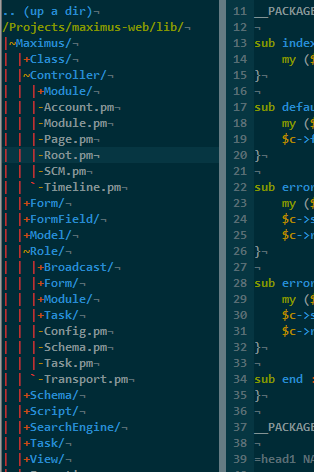
 So you started using Vim and were a bit disappointed with the lack of a proper tree-style directory explorer? Meet NERD tree (also on GitHub). With NERD tree you can navigate through your folders and files.
You can choose to always display the sidebar (put let NERDTreeShowBookmarks=1 in your .gvimrc) or use its toggle function NERDTreeToggle, which I’ve got mapped at \\ with map \\ :NERDTreeToggle. If you don’t like to have the tree on the left side you can change it from left to right with let g:NERDTreeWinPos = "right".
NERD tree has lots of shortcuts to improve and speed up navigation. You can always request an overview of these shortcuts with shift + ? when in the tree window. Some useful shortcuts are:
shift + ito list hidden files.sto vsplit the current window and open the selected file.ito split the current window and open the selected file.tto open file in new tab.mto modify the file/directory to rename, move, delete or create a file/directory.shift + cto move into the selected directory.uto move back one level in the directory tree.xto close the opened directory tree in which you’re in.returnto open a directory or file.jandkor the cursor keys to move up and down in the list.
There are a lot more shortcuts, all explained by opening the help with shift + ? and it might seem a bit much to memorize all these shortcuts but it’s not that bad really. Using just the return and cursor keys is enough to navigate and open files, but it really pays of to get to learn the other shortcuts.
Another neat thing of NERD tree is that it supports Bookmarks. To be able to store your bookmarks you need to specify a location where the bookmarks are stored. Generally you do this in your .gvimrc file.
" Store the bookmarks file

let NERDTreeBookmarksFile=expand("$HOME/.vim-NERDTreeBookmarks")

" Show the bookmarks table on startup

let NERDTreeShowBookmarks=1
To create a bookmark navigate your cursor to the directory you want to bookmark and use the command Bookmark <name> to create a named bookmark. You can later use this bookmark with NERDTreeFromBookmark <name>.